Printing Labels/ZPL Printer Configuration
ZPL printer allows users to print labels of items and ingredients based on the quantity of items that are configured in Receiving. The label contains the item barcode, item price, and item name.
Once users enter the required number of items in the Quantity field under Receiving à Item List, the same is auto populated in the Print Label Quantity field. The auto-populate feature works only when the system preference is enabled, if not enabled then users must manually enter the quantity of labels to be printed for an item in the Print Label Quantity field.
For example, if user enters 10 in the Quantity field for an item, then the same gets auto populated in the Print Label Quantity field.
Prerequisites
The following setup must be done to configure Print Label:
-
Setup à Reports à Label Templates
-
Setup à Reports à Label Template Variables
-
Setup à Hierarchy à Locations à Create New à New Locations à Printer (field).
-
Setup à Hierarchy à Sites à Create New à New Sites à Printer Path (field).
For more information, refer to the Setup à Reports section in this guide.
Perform the following steps to print labels for an item in Receiving:
Click Procurement à Receiving. The Receiving page appears with the list of received invoices.
Enter the invoice number in the Search box or scroll down to locate the preferred invoice.
Select and click to open the preferred invoice from the All Invoices list. The selected invoice appears with the invoice details.
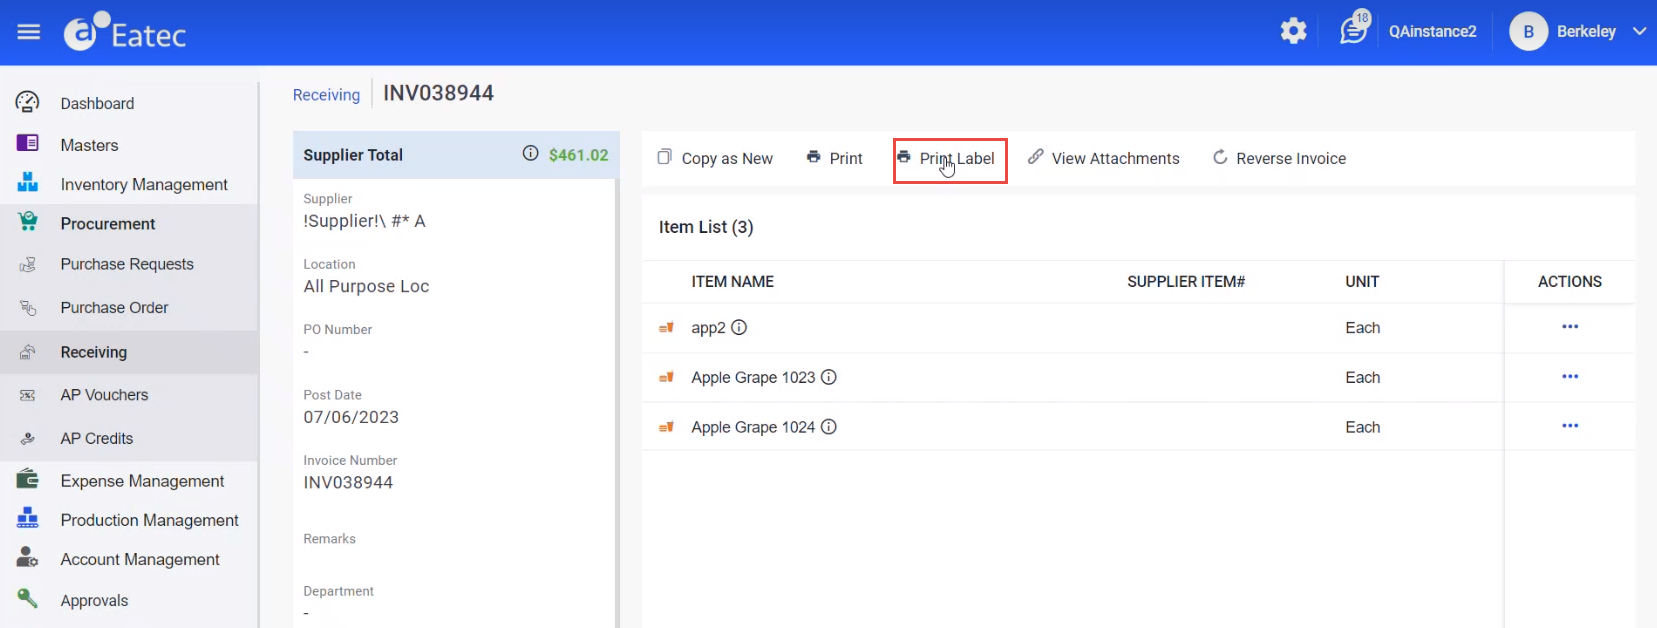
Click Print Label. The Print Label pop-up window appears.

Under Select Print Template, select the label template from the Select Label Template drop-down list. The printer changes based on the label template selected by the user.
Select the preferred printer type from the following options:
|
Field |
Description |
|---|---|
|
Network Printer |
Selecting this option displays the available or configured printers on the right pane. The default printer appears first. Printer configured for a Location and Site appears below the default printer. |
|
Local Printer |
Selecting this option displays the printer that is connected to the user’s machine through a wired connection/USB port. |
|
New Printer |
Selecting this option allows user to add a new printer and displays the following field:
|
Click Print.